A segmental arch is a type of arch that is formed by a segment of a circle, creating a shallower curve compared to a true or semi-circular arch. It is commonly used in bricklaying for doorways, windows, bridges, and other architectural features where a functional yet aesthetically pleasing arch is required. The construction of a segmental arch requires precision and careful planning, as the success of the arch depends on the accurate cutting, shaping, and placement of each brick. Here’s a step-by-step guide to constructing a segmental arch in bricklaying:
Step 1: Design and Planning
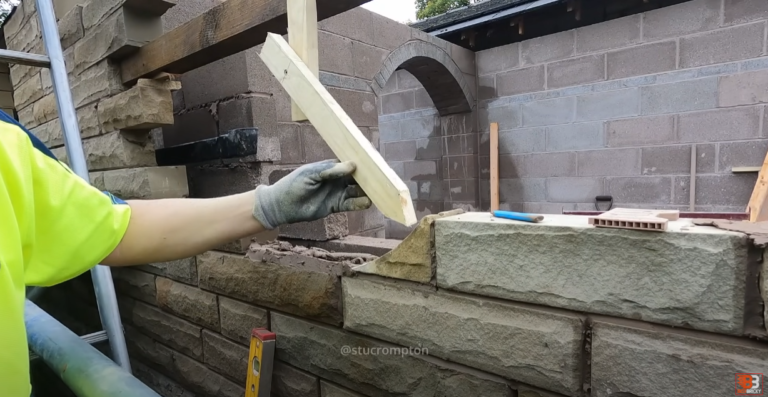
Before starting the bricklaying process, it’s crucial to design the arch and determine its dimensions. A segmental arch is typically defined by its rise (the height from the spring line to the top of the arch) and its span (the horizontal distance between the two points where the arch meets the supporting wall). The radius of the arch is key to determining the curve’s shape. Unlike a semi-circular arch, the segmental arch’s curve will be shallower, often around 15 to 30 degrees, depending on the design.
A template or “centering” is also required for this type of arch. The centering is a temporary wooden structure that holds the arch in place while the mortar sets and the bricks are placed. It will be removed once the arch is complete and self-supporting.
Step 2: Setting the Spring Line
The spring line is the point where the arch begins to curve from the horizontal face of the supporting wall. To ensure that the arch aligns correctly, a horizontal line is marked on the supporting wall at the correct height for the arch to begin. This marks the lowest point of the arch, and it’s crucial for creating a level and even foundation for the arch’s construction.
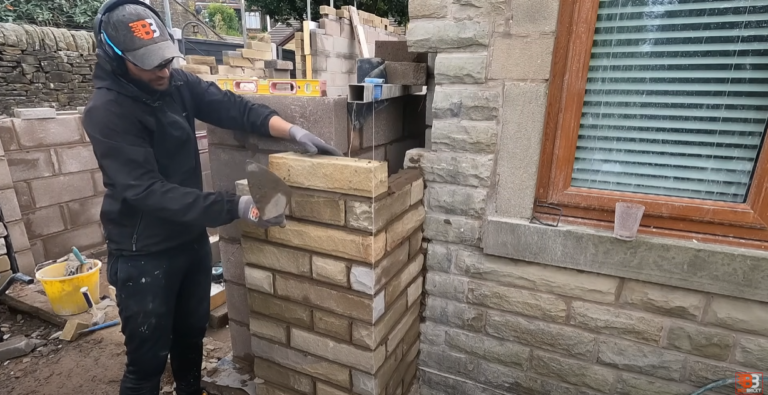
Step 3: Laying the First Course
Start by laying the first course of bricks along the spring line, making sure that they are level and securely bonded to the wall. These first bricks will form the base of the arch and act as the foundation for the subsequent layers. It’s essential that each brick is laid with precision, as the entire arch will rest upon these initial bricks.
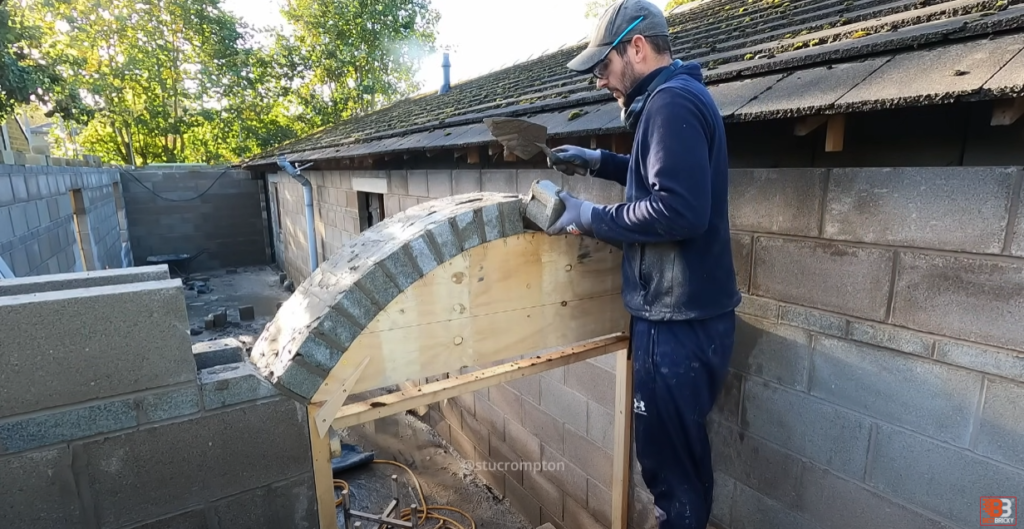
Step 4: Shaping the Arch
Once the first course is in place, begin placing the next layers of bricks, working upwards towards the center of the arch. Each brick must be cut to fit the curve of the arch, which is where careful measuring and precision come into play. Use the centering as a guide to maintain the correct shape and angle of the arch.
Unlike a true arch, where each brick is typically cut to a wedge shape, in a segmental arch, the bricks will be less angled and more horizontal, especially as they approach the crown (the highest point). As you move upwards, adjust the angle of each brick to maintain a smooth, gradual curve that is consistent with the segmental design.
Step 5: Mortar and Bonding
Between each brick, apply a layer of mortar to secure the bricks in place. The mortar should be strong enough to bond the bricks without being overly thick, which would affect the final finish of the arch. Keep the mortar joints consistent in thickness, ensuring that the bricks remain tightly fitted together.
Step 6: Installing the Keystone
The keystone is the central brick of the arch, which locks all the other bricks in place. In segmental arch construction, the keystone is usually placed last and is often slightly larger or shaped differently to fit perfectly at the apex of the arch. Once the keystone is in place, it will distribute the weight evenly across the arch and complete the structure.
Step 7: Removing the Centering
Once the mortar has set sufficiently and the arch is self-supporting, the centering can be carefully removed. This should be done slowly and cautiously to ensure that the arch does not collapse before the mortar is fully cured. The arch should now be stable, with the weight of the structure being supported by the surrounding masonry.
Step 8: Finishing Touches
After the centering is removed, fill any gaps between the bricks with additional mortar as needed, and smooth the joints for a clean finish. Allow the arch to cure completely before subjecting it to any load or stress. The arch’s aesthetic appeal can be enhanced by finishing the mortar joints with a specific trowel technique or using a specialized jointing tool to create a smooth or recessed finish.
Final Considerations
Building a segmental arch requires attention to detail, a steady hand, and careful planning. The bricks must be precisely cut to ensure a consistent curve and even spacing, which is vital for both the structural integrity and visual appeal of the arch. When constructed correctly, a segmental arch offers strength and durability while providing a visually pleasing and functional architectural feature in brickwork. Whether used in a small residential project or larger construction like bridges or public buildings, a segmental arch is a testament to the art of bricklaying.